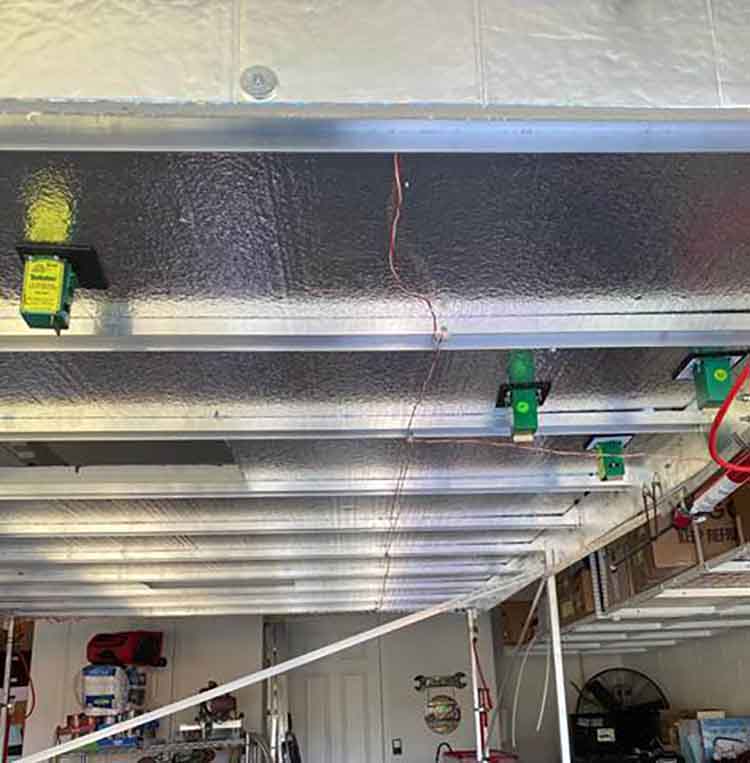
Peter’s been in touch with his suspended train track:
Starting a new venture with HO scale trains. Had plenty of room in NJ basement for the O gauge, but when I moved to FL, alas, no basement. So, I had to sell all of my O gauge trains.
Having seller’s remorse, I decided to go with HO having a smaller footprint but the problem was where to put it? What room could I use to have a 12′ x 8′ layout?
The garage of course, but the motorcycle and car needed housing also.
Solution: Build a platform and raise it to the ceiling when not needed. I built a 12′ x 8 foot frame out of aluminum to keep the weight down instead of using wood.

The base used was 2″ Styrofoam 4′ x 8′ sheets. Glued them to the aluminum and painted them green to start.
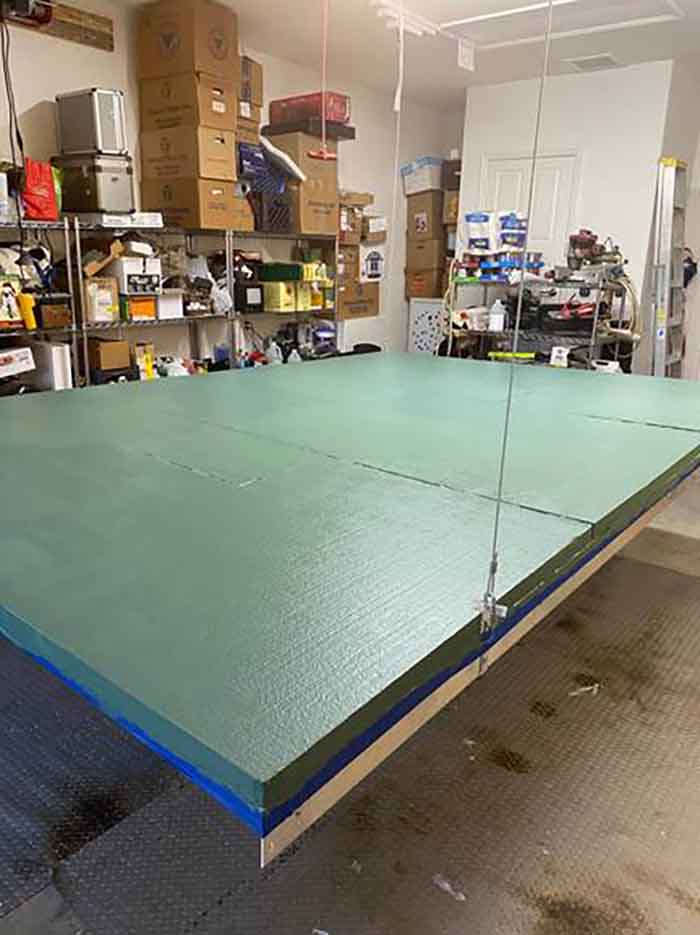
I used a 110v electric winch and pulleys to raise and lower the platform. Bolted to the concrete side wall and used twisted cable rated at 600 lbs. to make sure the load would be carried.

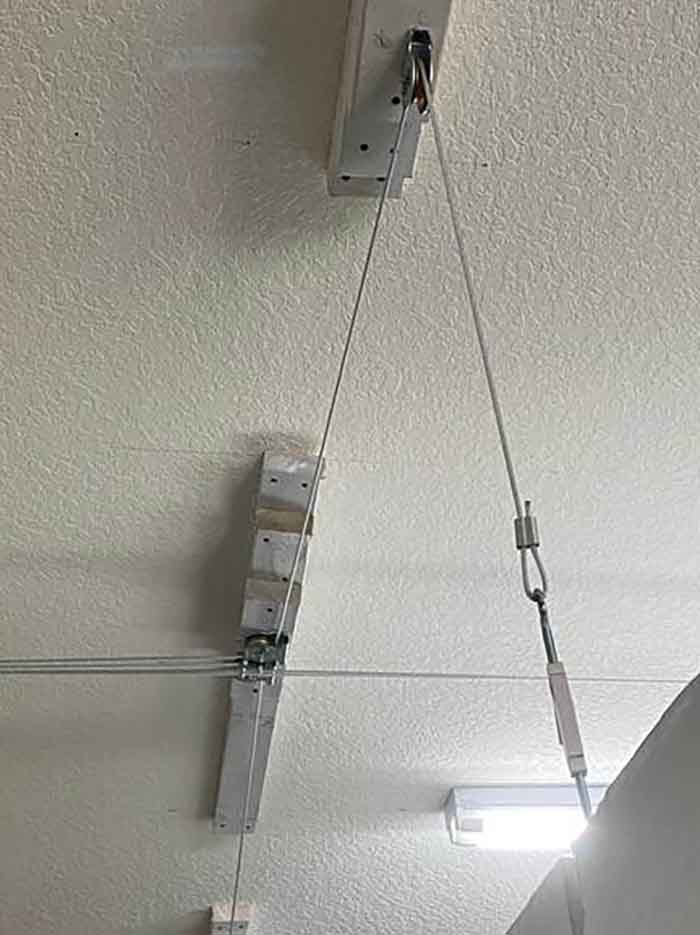
However, the winch lifting this light a load moved very fast and would hit the garage floor with a vigorous thump moving the cars and accessories all over the place. I needed to slow it down.
Solution: Hydraulic shocks. But car shocks were designed for heavy weight. Found the answer at Ace hardware; bicycle pumps. Removing the handles, I attached them upside down to the 4 legs of the table.
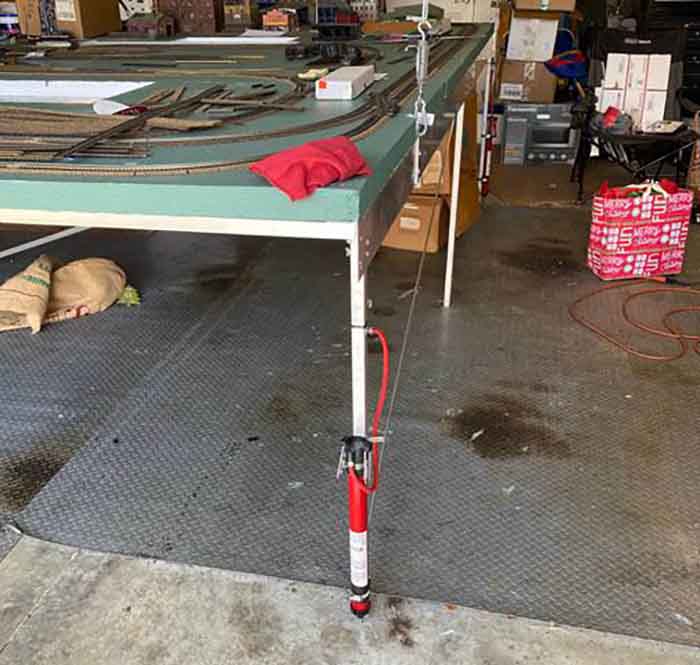
I inserted a valve system that I could adjust to limit the amount of air being released thus slowing the touchdown. It now takes about 57 seconds to travel the final 6 inches or so and saving the location of the trains components.
Now starting to lay tracks and building a subway system in the center.
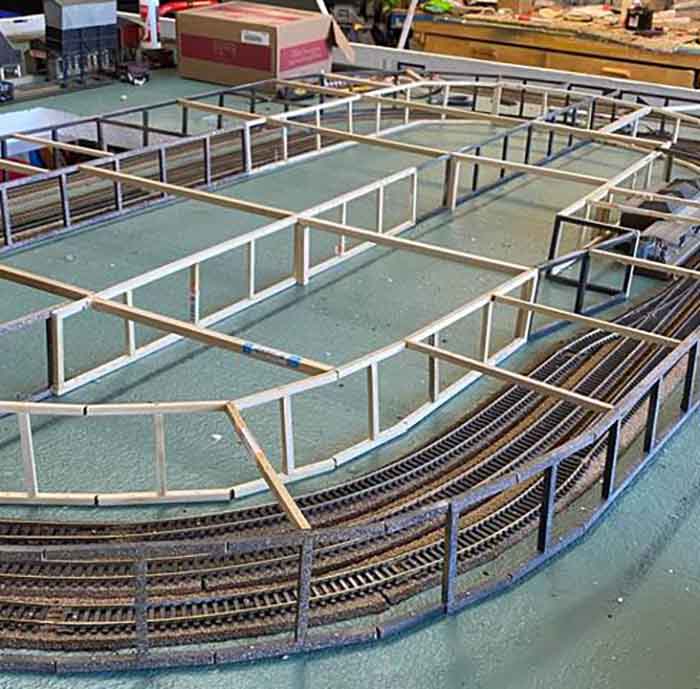
I easily cut out access points in the styro to get to the middle of the layout when needed. Will plan a farm or something that can be easily moved from under the table without disturbing the diorama. Pictures will be sent as I continue further.
A big thanks to Peter for sharing his suspended train track – there’s been quite a few over the years:
Now on to Hall of Fame member, Rob:
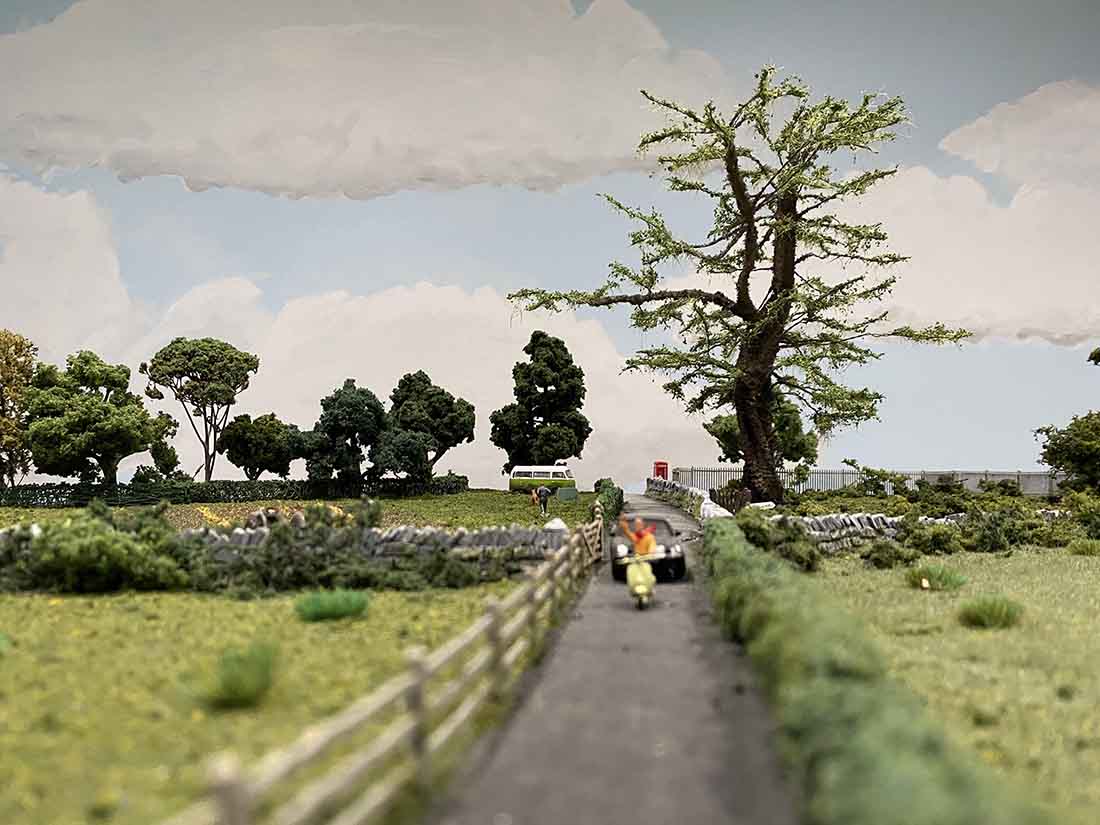
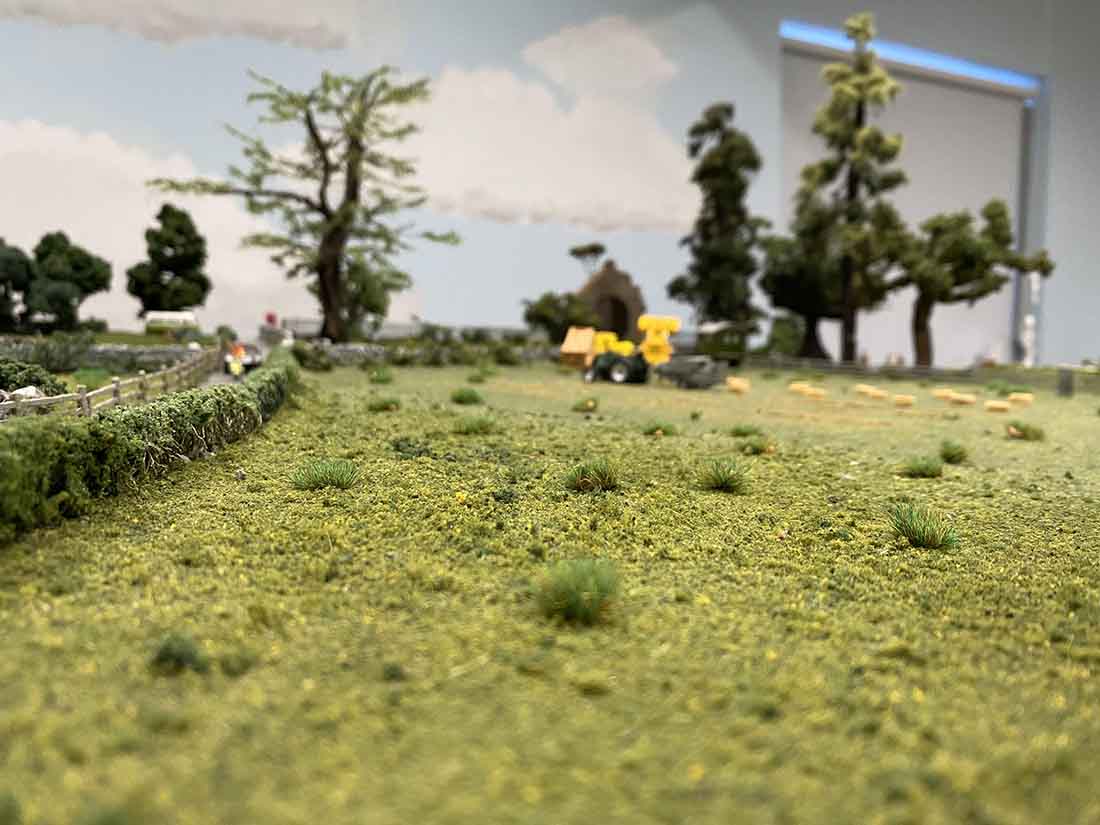
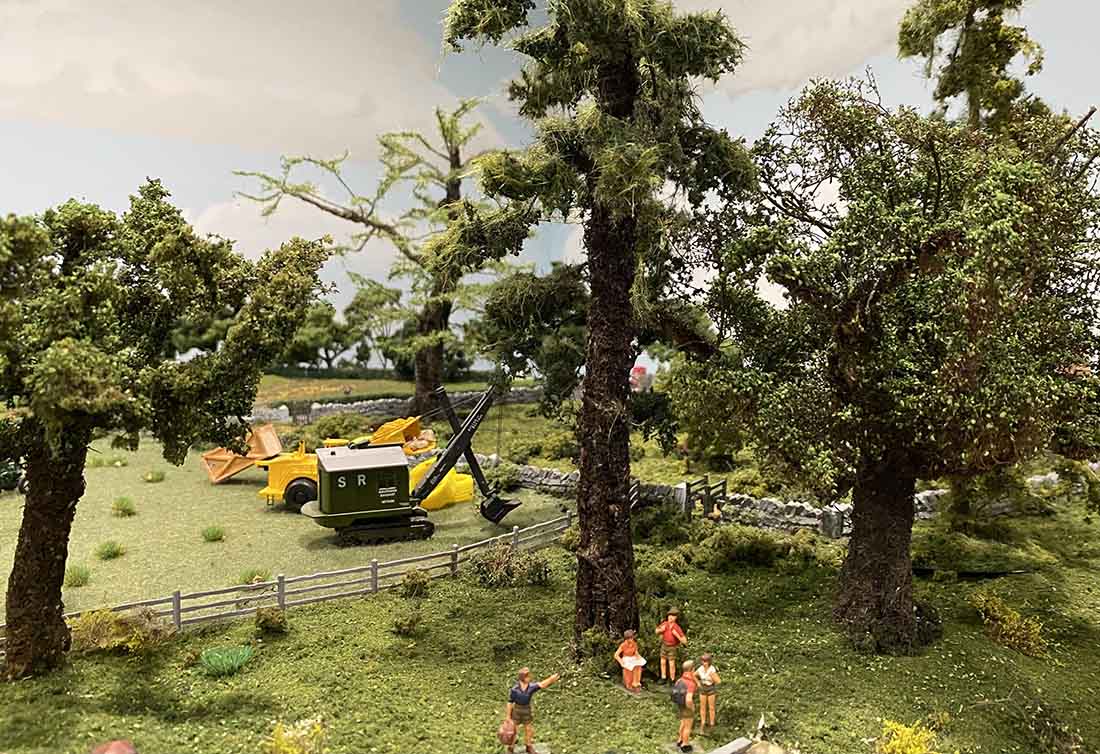
I have a new style tree for your audience today. It is more of a deciduous design this time.
I put the foliage on in a different way so the structure of the tree is more visible.
I am fairly pleased with the result. Because it was the first one built this way it took a bit longer than really needed.
It looks pretty good on the layout overhanging the road.
(You can see Rob’s last post on making trees for your layout here.)
That’s all for today folks.
Please do keep ’em coming.
And if today is the day you pick the hobby back up, the Beginner’s Guide is here.